As organisations increasingly rely on data-driven decision-making, integrating IBM Cognos Analytics with a cloud-based big data analytics warehouse has become essential. This process describes the steps to connect Cognos Analytics system to a cloud-based big data analytics warehouse.
First, we have to download current JDBC drivers from google cloud link.
Scroll down to Current JDBC Drivers section in page and click ‘JDBC 4.2-Compatible’ link.
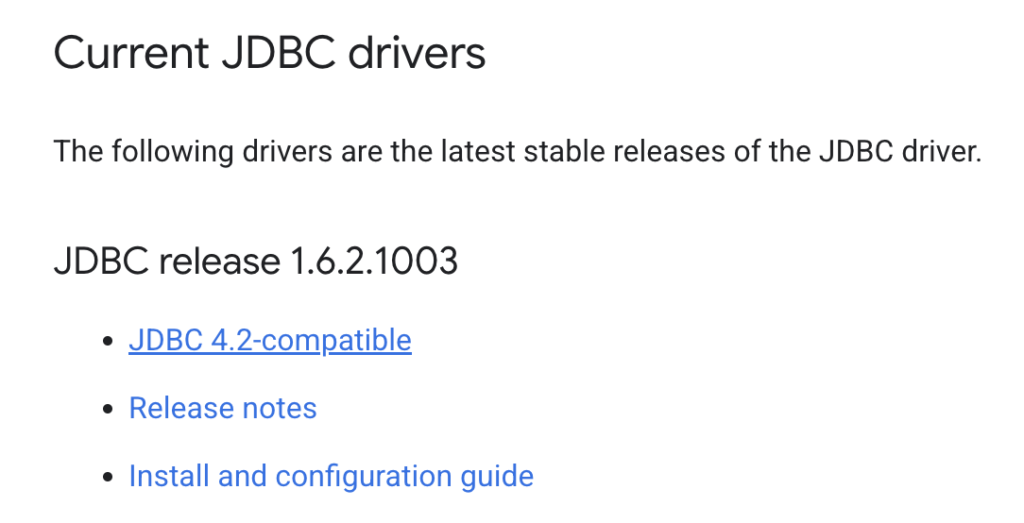
JDBC drive will download in compressed zip format.

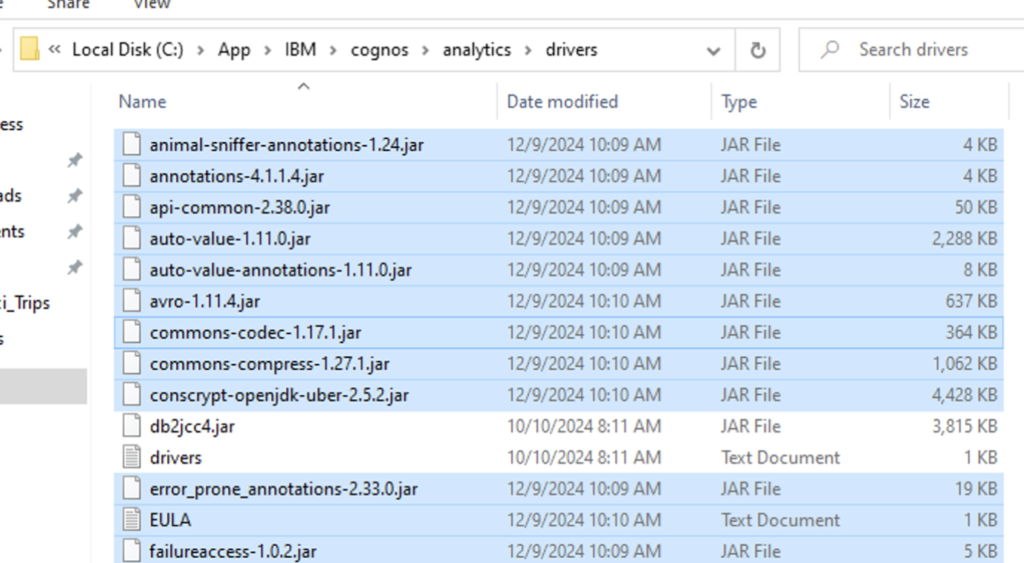
Extract the contents of the zip file into a temporary folder.
Now copy all .jar files from the temporary folder to your Cognos Analytics drivers folder (should be something like (C:\IBM\Cognos\analytics\drivers).
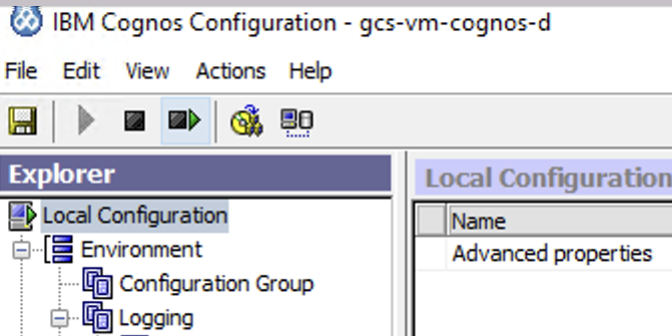
Once jar files copied, stop/start Cognos Analytics services from Cognos Configuration.
Now open the json file and note down the below details and use them to establish the Cognos connection with Google BigQuery:
‣ <Project-ID>
‣ <Client-Email>
‣ <PathToPrivateKeyFile> : C:\App\IBM\cognos\analytics\drivers\cognos-451302-d9657890af20.json
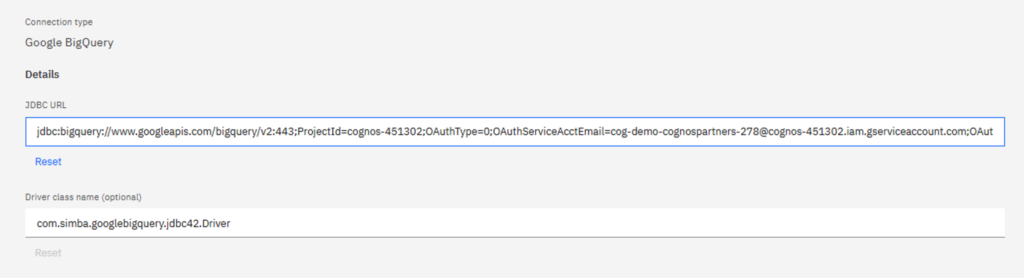
Add details to below JDBC URL.
jdbc:bigquery://https://www.googleapis.com/bigquery/v2:443;ProjectId=<Project-ID>;OAuthType=0;OAuthServiceAcctEmail=<Client-Email>;OAuthPvtKeyPath=<PathToPrivateKeyFile>;
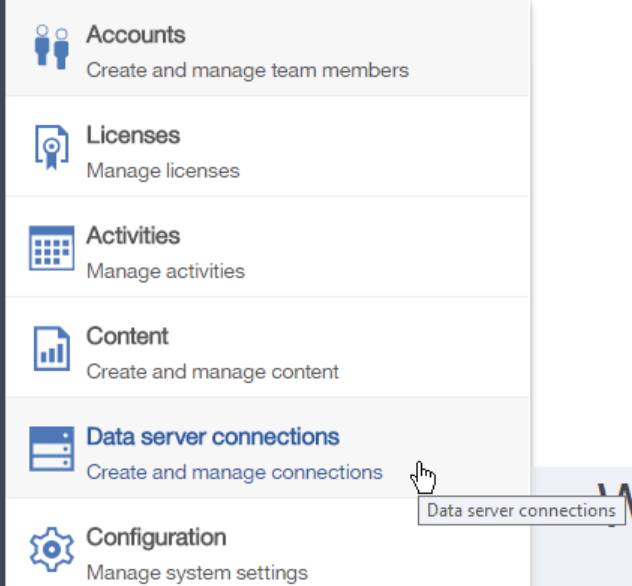
Now Open up Cognos Analytics in a browser and navigate to Manage > Data server connections
Click the new connection in next window and select ‘Data Server’.
Put the name for new server connection and selection ‘Google Big Query’ from the drop down.
Add JDB URL we have created earlier.
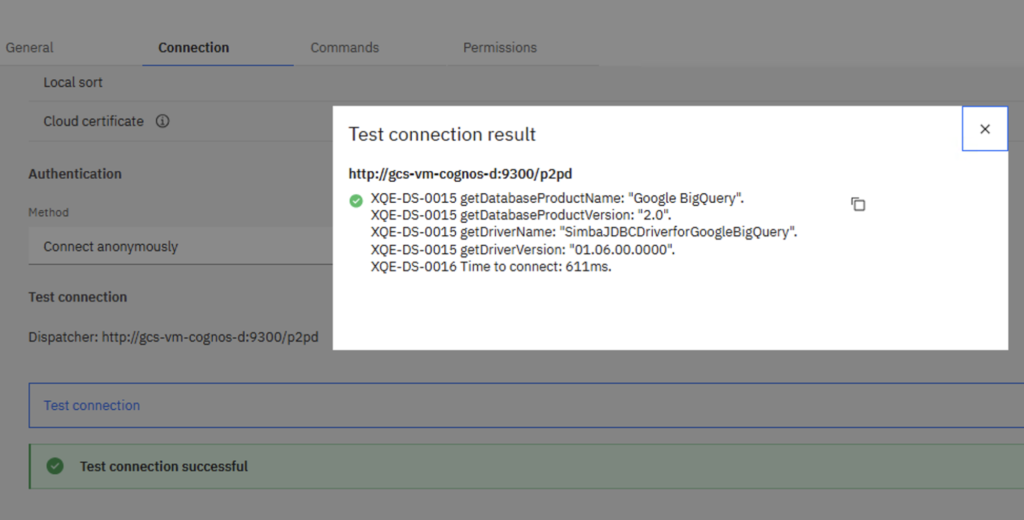
Use ‘Connect Anonymously’ method to connect and click on test connection.
If test connection succeed, connection is established properly and we can proceed to create a data module on top of it.
Prior to create a data module connection, go to newly created connection and click on three dots > Assets to load the metadata.
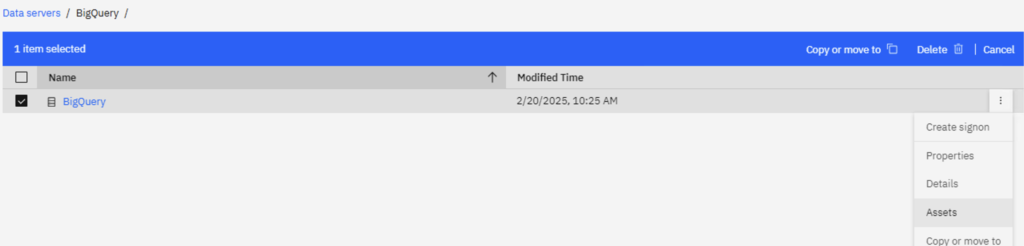
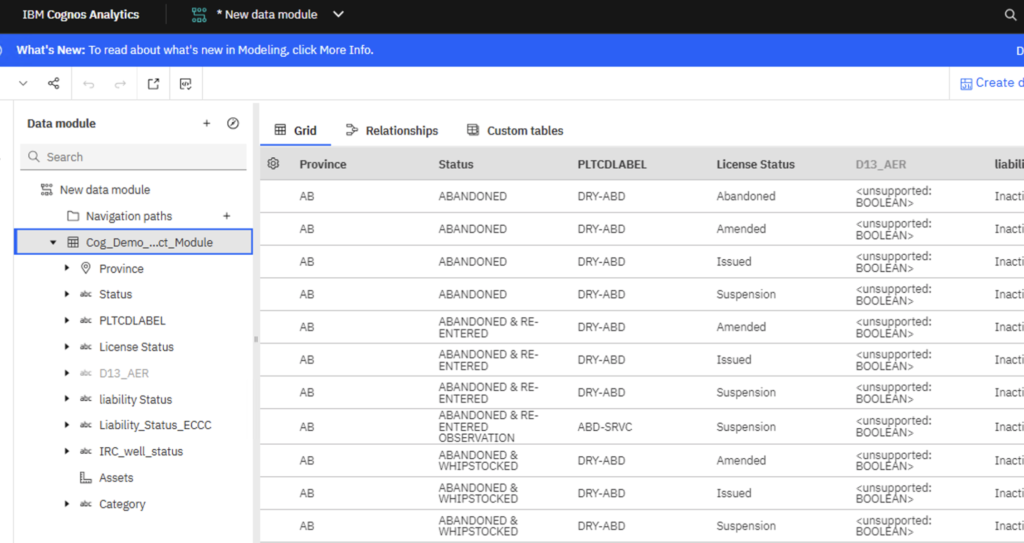
Once metadata is loaded, create a data module by selection data server as source.